


The bilge pump shouldn’t cycle after a night of rain. When it does, the trail usually ends at a hatch that looked fine from above: lid intact, latch clicked shut, gasket sitting right where it has always sat. That gap between “looks closed” and “is sealed” is where most hatch trouble lives, and it is almost never a problem with the lid itself.
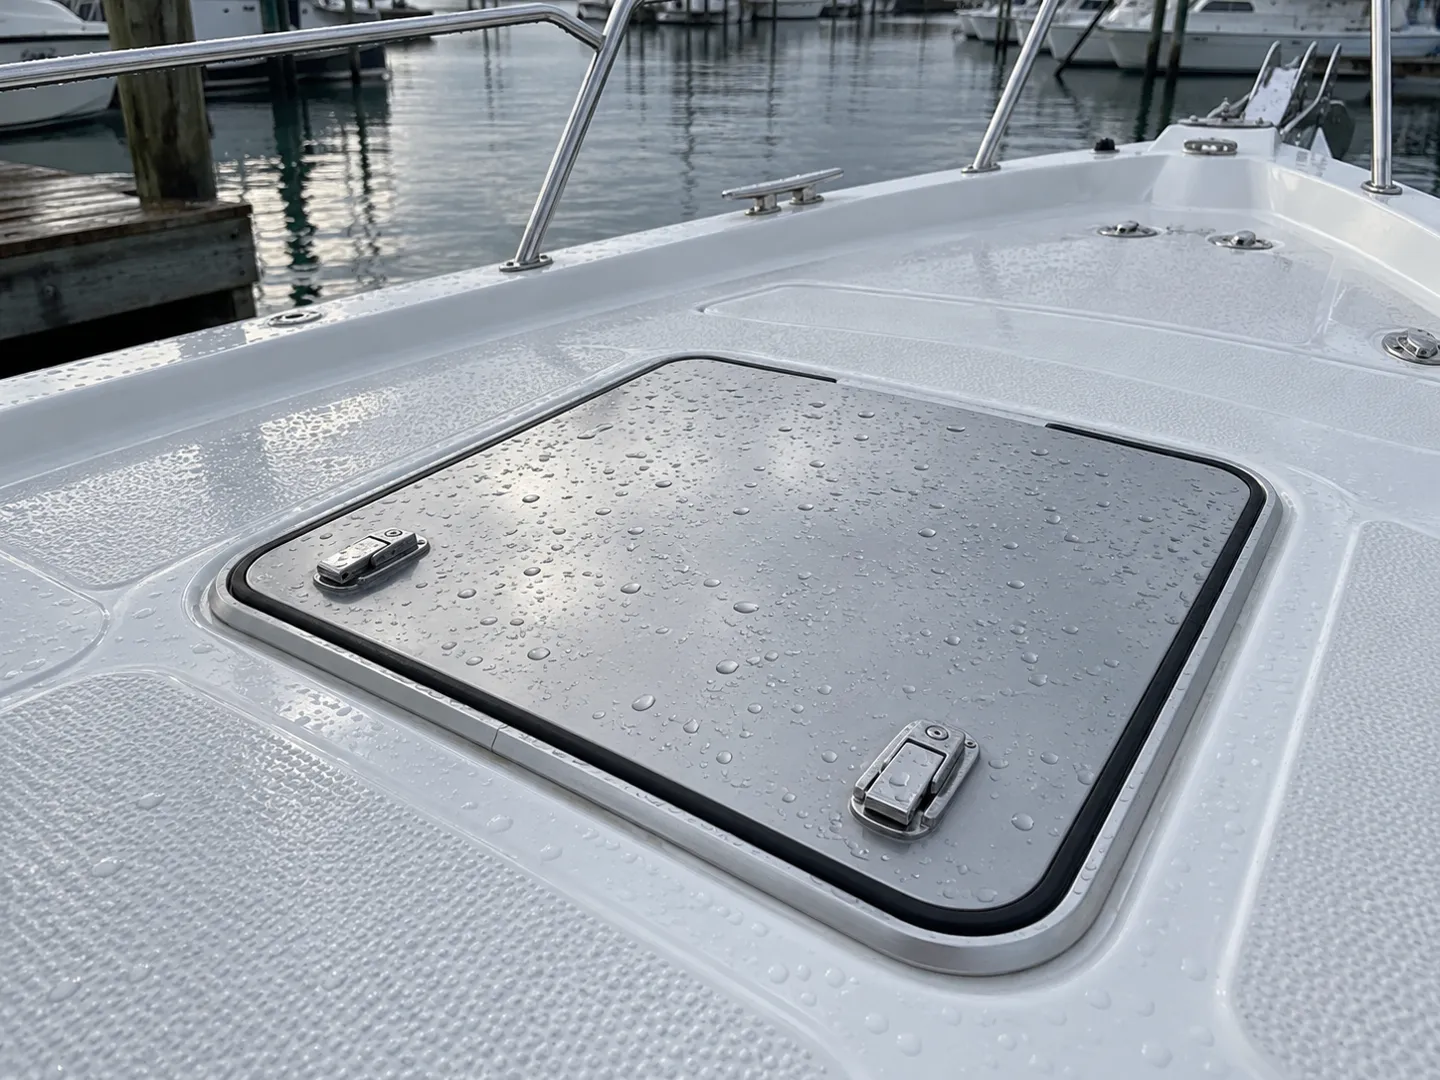
This guide covers both halves of that problem. First, what the different boat hatches are and what each one demands. Then the part most articles skip: the latches, hinges, and seals that decide whether the hatch actually keeps water out. Those parts can be chosen, measured, and bought as components rather than as a whole new lid.
Boat hatch types and what each one demands from its closure hardware
| Hatch type | Where it sits | Typical lid material | What closure must handle |
|---|---|---|---|
| Deck hatch (walkable) | Main deck, fishing platforms | Fiberglass, aluminum | Foot traffic, flex under load, constant spray |
| Access / inspection hatch | Storage bays, bilge areas | Polypropylene, FRP | Frequent open-close cycles, splash and dust sealing |
| Engine / storage hatch | Engine bay, service access | Aluminum, plastic | Heat, vibration, quick removal for servicing |
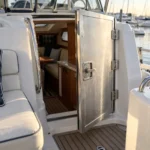
| Cabin / console door | Helm area, walk-through | Acrylic, starboard, teak | Wind load, looks, latching from both sides |
Transom doors and livewell lids sit outside this main set but follow the same logic. A transom door is a cabin door moved to the stern. A livewell lid is a small access hatch that lives in the permanent splash zone.
Lid material changes the math more than most buyers expect. Acrylic gives you a clear or tinted lid but turns brittle under years of UV. Teak looks right on a classic deck and asks for seasonal maintenance in return. Aluminum and fiberglass carry the heavy, walkable spans. Whatever the lid is made of, every type on that table ends at the same question: what keeps it pressed shut against a wet, moving deck. That question is where leaks start, so it is where the next section goes.
Why Hatches Leak: The Closure System, Not the Lid
A leaking hatch usually gets diagnosed as “the seal is shot,” and about a third of the time that is true. The other two-thirds split between a latch that no longer squeezes and a lid that flexes hard enough to pull its own gasket open. All three failures belong to one system: the closure system that has to hold the lid against the frame. The lid itself rarely lets water through; it just stops holding the seal in compression.
Start with the seal. A gasket works by being squashed to a fraction of its free height. It ages two ways: UV stiffens the rubber, and years of compression leave it with a permanent flat spot. Once it takes a set, no amount of latch force brings it back. The fix is a new gasket or a fresh bead of sealant. If you re-seal rather than re-gasket, pick the adhesive with the next repair in mind. Silicone is tempting, and it works for a season or two. But it contaminates the bedding surface, and no later sealant bonds over the residue. That rules out the marine-standard choices, polysulfide life-caulk and 5200-class polyurethane, for any surface silicone has touched. Owners who re-bed with 5200 do it once a decade; silicone users redo it every couple of seasons.
Then the latch. A closure that only hooks the lid holds the gasket at whatever gap the latch happened to catch. There is no over-travel after it seats. Vibration works the hook loose, the lid starts to micro-rock, and water walks straight through the unmetered part of the seal.
Third, deflection. A wide, thin lid bends under its own weight and under foot traffic. The middle of the lid drops away from the frame, the gasket at mid-span opens, and the leak shows up nowhere near the latch.
From the refit market
$7,400-$14,000
Full-lid replacement quotes for eight hatches on one cruising sailboat, while the real failures sat in the seal and the latch.
Source: r/boating quote thread, 2026
That gap between the bill and the actual fault is the argument for diagnosing before replacing.
Three-step leak source check
- Gasket: look for flat spots, hardening, or crumble; a seal that has taken a set needs replacement, not more latch force.
- Closure: latch the hatch and press a lid corner; visible rocking means the latch is not compressing, and the fix is a different mechanism.
- Deflection: lay a straightedge across a wide lid; a gap at mid-span means the lid needs stiffness or a compression latch with over-travel.
Replacement only beats repair when the structure is gone. A cracked lid, a rotted frame, a cutout that no longer squares up, or a discontinued factory hatch with a non-standard opening all justify a full swap. Before ordering one, measure the cutout opening rather than the lid’s outside frame, because replacement hatches fit openings, not outlines.
Four Latching Mechanisms, Four Different Ways to Squeeze a Gasket
Every hatch latch on the market does one of four mechanical jobs. Knowing which one a hatch uses, or should use, tells you most of what you need about how it will age.
Slam latches: convenience first
Push the lid and a spring-loaded pin hooks the strike inside. Nothing to turn, nothing to align, which is why Jon-boat builders and console-door makers love them. The trade-off sits in the spring. Closing force is whatever the preload gives you, spent the moment the pin engages. On a small, light lid with a soft gasket, that is plenty. On a wide deck hatch that flexes, a slam latch holds the lid shut without holding the seal compressed, and slop at the pin adds rattle long before it adds leaks.
Cam latches: simple, lockable, short-travel
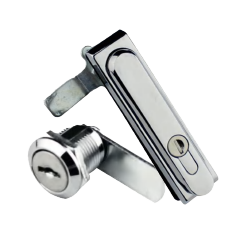
A cam latch turns an offset plate behind the frame as you twist the handle, pressing the lid straight in. Travel is short and the squeeze is even. The mechanism is cheap to make and easy to key, and that combination makes it the default on thin storage doors and electrical panels aboard. Its limit is the same short travel. There is little room to pull a warped or thick-gasketed lid up tight, and a cam on a vibrating deck can back off unless it has a detent.
Compression latches: the over-travel that keeps seals honest
A compression latch pulls the locking hook inward as it draws the lid in, then continues past the point of first contact. Marine engineers treat this as the difference between a lid that is shut and a seal that is loaded. One builder’s rule of thumb on a boat-design forum holds lid deflection under about a sixteenth of an inch with good compression hardware (boatdesign.net hatch deflection thread, 2020). Published hardware data shows the same idea in numbers. Southco’s push-to-close latch line, for example, ships in three spring rates rated at 13, 22, and 44 newtons of pull-up force (Southco C3 latch datasheet). The closure gets matched to the seal rather than guessed. You pay for it in cost and installation depth, which is why it earns its place on deck hatches and engine spaces and is overkill inside a dry storage bay.
Shut is not sealed: over-travel keeps compressing the gasket after the lid seats, and that ongoing squeeze is what a slam latch never gives you.
Draw and toggle latches: strong pull, quick removal
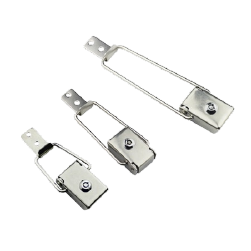
A draw latch is an external hook-and-plate that pulls two surfaces together over a lever linkage. Southco’s primer on the type describes its job as holding two surfaces securely while allowing fast separation (Southco draw latch primer, 2023). Tension is adjustable, removal needs no tools, and engine covers and service hatches that come off every weekend are its home ground. It rarely locks. It also stands proud of the deck where a toe can catch it, so it belongs inside the sheer line rather than on a walking surface.
Two rarer options round out the map. T-handle latches with keyed barrels handle cabin doors that need real security, and double-sided releases solve the hatch that must open from inside and out. That second problem is common enough that builders still trade workarounds, because the off-the-shelf market barely covers it.
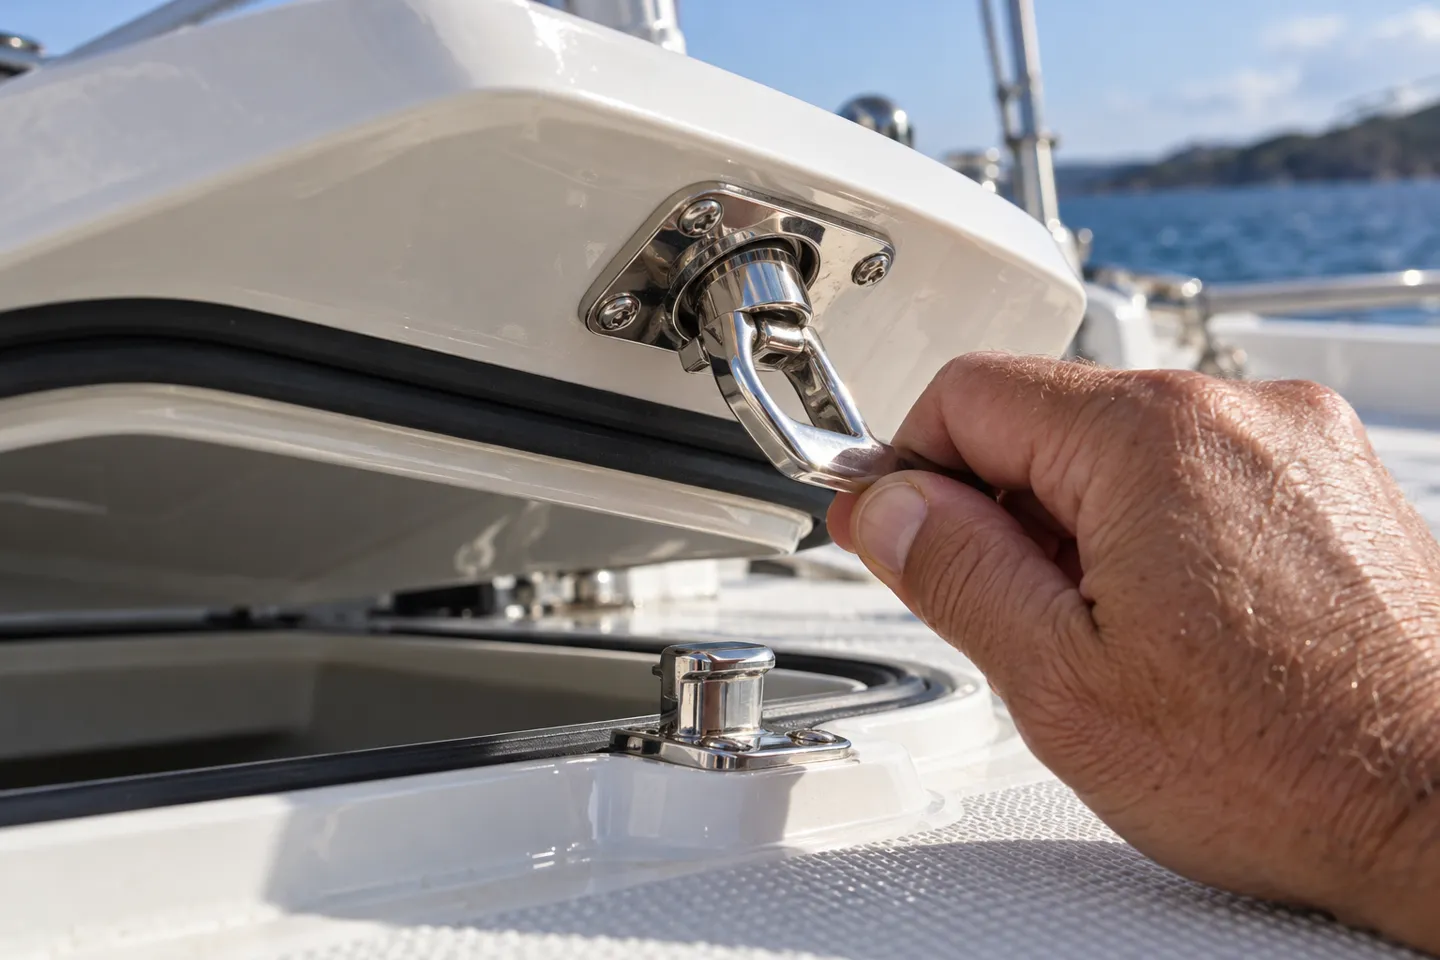
The trend across new production hatches runs toward compression-style slam action. Marine hatch makers keep pushing compression cam designs into high-traffic decks. Buyers want slam-latch convenience with compression-latch sealing in one unit. Component buyers get to specify the two properties separately, which is the quieter advantage of buying parts instead of lids.
Four latching mechanisms compared
| Mechanism | How it grips | Seal outcome | Lockable | Best fit | Watch out for |
|---|---|---|---|---|---|
| Slam latch | Spring pin hooks the strike on push | Light, spring-dependent pressure | Some models | Lids opened dozens of times a day | Wide lids with thick gaskets |
| Cam latch | Rotating eccentric cam presses in | Short-travel, even squeeze | Yes, keyed options | Thin lids, storage doors | Can back off under vibration |
| Compression latch | Pull-up stroke draws in, then over-centers | Continuous, metered compression | Yes | Deck and engine hatches that must stay dry | Cost and installation depth |
| Draw / toggle latch | External lever pulls over-center | Strong, adjustable pull | Padlock loop at best | Engine covers, service hatches | Proud of the deck, no integrated lock |
Matching Hardware to the Hatch: Selection and Replacement
Choosing hardware is a five-step walk, and the order matters because each step narrows the next.
1. Read the working conditions. Position on the boat decides most of it: walked-on deck, splash-zone storage, hot and shaking engine bay, or a cabin door that faces guests. Note three things in writing: load on the lid, vibration nearby, and whether the hatch must lock.
2. Assign the latch type. Walkable deck hatch calls for compression. High-vibration engine bays take draw latches or compression, never a bare cam. A locker door inside the cabin is a cam’s home. A cockpit hatch flipped open fifty times a day earns a slam latch if its gasket is soft and its span is short.
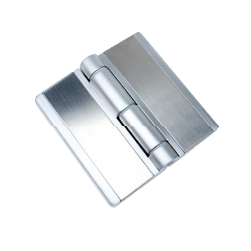
3. Pick the hinge to match. Piano hinges run the whole edge, spread load, and sit low. Friction or torque hinges hold a lid open at any angle, which matters on a hatch you open with one hand while carrying something in the other. Concealed hinges disappear below deck but demand accurate cutouts. Detachable hinges and gas struts round out the set for service lids; a heavy engine cover with a strut is safer than one with a prop stick.
4. Measure before you buy anything. For a replacement, the cutout opening is the master dimension; the lid outline is secondary. For hardware, measure bolt-hole spacing and pin diameter on hinges, hole pattern and pawl travel on latches. A latch that seals perfectly and misses the pawl strike by ten millimeters seals nothing.
5. Test the closed system. A correct installation closes with a firm, rising feel as the mechanism passes over-center. The gasket then shows even compression marks all around. A lid that shuts with a click and no resistance is hooked, not sealed.
Hatch-to-hardware boundary matrix
| Hatch scenario | Latch to fit | Hinge to fit | Boundary: switch approach when |
|---|---|---|---|
| Walkable deck hatch, wide span | Compression latch with over-travel | Friction hinge; add gas strut on heavy lids | Lid still flexes after compression: stiffen the frame or shrink the span |
| Small inspection port | Slam or cam latch | Butt hinge | The port must come fully out: fit a threaded deck plate instead |
| Engine bay hatch | Draw latch, tool-less | Detachable or butt hinge | Heat or fuel exposure softens plastics: go stainless hardware |
| Under-seat storage hatch | Compression or cam latch | Piano hinge | Contents block lid travel: switch to a lift-off hinge |
| Cabin door, must lock | Keyed cam latch or T-handle | Concealed hinge if cutout precision allows | Cutout cannot hold tight tolerance: surface-mount the hardware |
Run your boat against that matrix once and the hardware list writes itself: latch type per hatch, hinge type per hatch, and the gasket profile that both of them are compressing.
Send that hardware list to KUNLONG and get cam, compression and draw latch options with published stroke and pull-up figures back against it.
Request Latch SpecsThe Engineering Numbers That Decide Whether a Hatch Stays Dry
A hatch specification is a short list of numbers, and every one of them has a failure mode behind it. These are the numbers that go on the drawing.
Compression, gasket, and deflection
A gasket needs to be compressed, not just contacted. Plan the closure around roughly an eighth of an inch of seal movement between lid and frame. Treat the latch’s over-travel as the budget that spends it. The mechanism must travel past first contact by enough to load the seal, or the seal never reaches its design compression. Deflection is the other half of the budget. A wide lid under load bends. The closure system has to keep that bending from opening the seal at mid-span. Builders cite a sixteenth of an inch as the target because beyond it, water finds the low side during a slam or a boarding wave. Compression hardware does not stiffen the lid; it buys back the deflection that stiffness does not. Both matter, and neither substitutes for the other.
Material: where 316 earns its premium
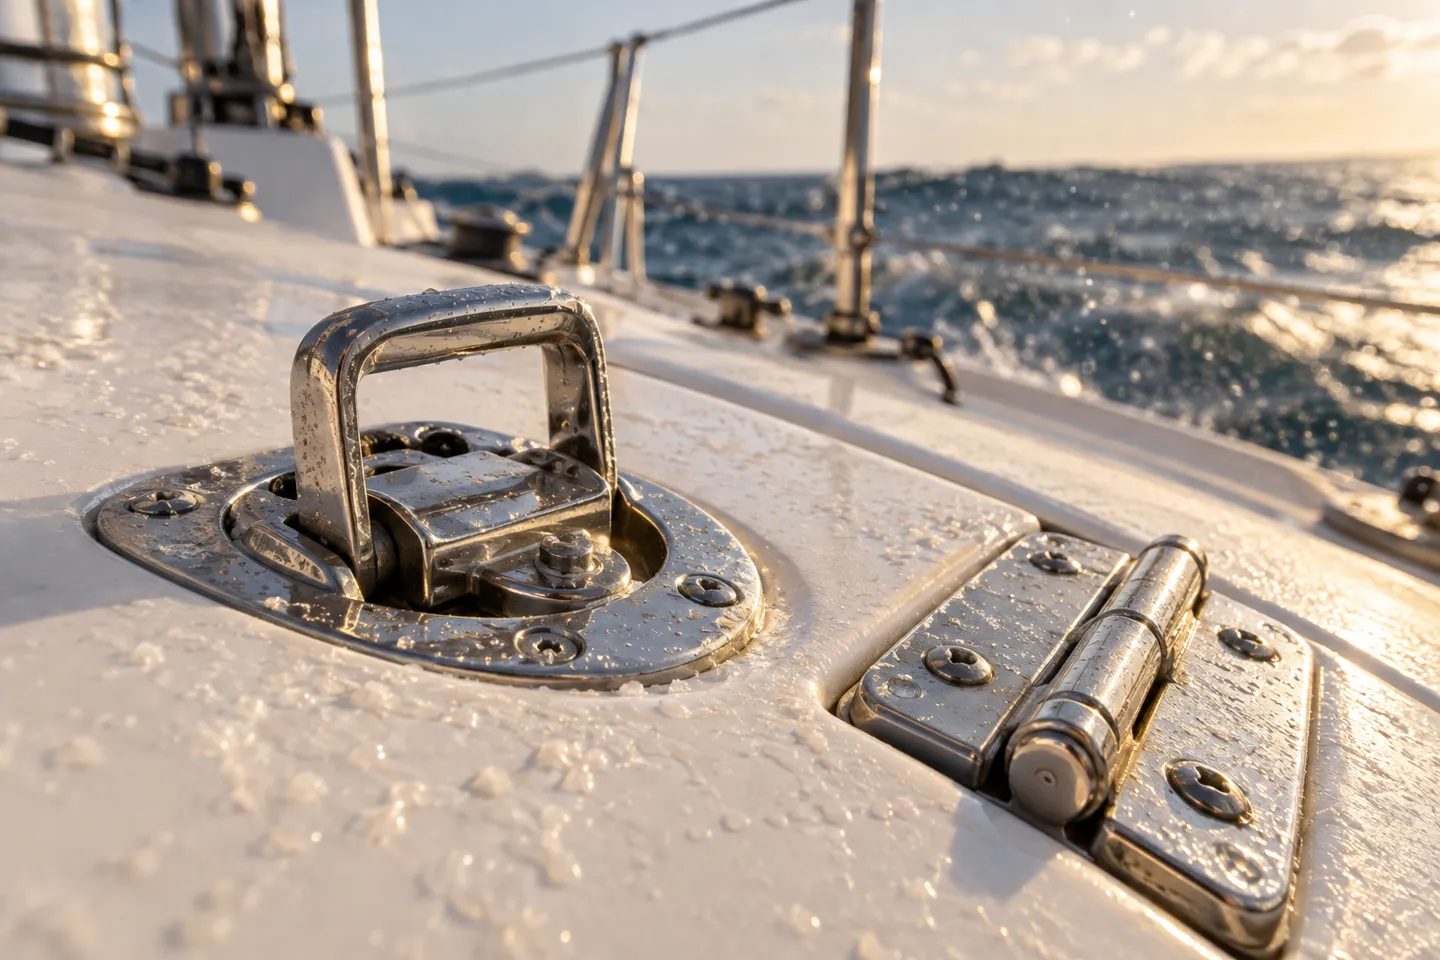
Chlorides are what kill hardware on a boat, and the alloy chart is honest about it. Grade 304 is the common, economical stainless, and it pits in salt spray. Grade 316 adds two to three percent molybdenum, which substantially improves resistance to exactly that pitting (Suncor Stainless marine-grade comparison). The working rule that follows is simple. Deck-level latches, hinges, and fasteners live in the spray zone and get 316. Cabin-interior hardware in a low-salt environment can run 304 without giving up real life.
304 vs 316 for hatch hardware
| 304 | 316 | |
|---|---|---|
| Alloy difference | Baseline 18/8 chromium-nickel | Adds 2 to 3% molybdenum |
| Chloride pitting resistance | Susceptible in salt spray | Substantially better |
| Where it fits | Cabin interiors, low-splash spots | Deck-level latches, hinges, fasteners |
| Cost | Lower | Higher |
Surface treatment is the second lever. Powder coat and plating buy time on zinc and steel parts, but any coated part is only as sealed as its edges and fastener holes. When a supplier quotes salt-spray performance, ask for the report behind the number. The test setup should name the standard. ASTM B117 is the standard practice for operating a salt spray fog apparatus (ASTM B117). Hours in a chamber compare coatings and alloys against each other. They are not a warranty of years on your deck. That is exactly why the report, not the marketing number, is the artifact to keep on file.
When the standard parts do not fit
Some requirements fall outside any catalog page, and they are the cases worth engineering time. A hatch that must open from both sides, inside and out, is the classic one. Builders keep asking for off-the-shelf answers and mostly trade custom workarounds instead (boatdesign.net double-sided latch thread, 2021). The workable answers are an inboard sliding-release pin paired with an outside pull, or a two-sided handle lock specified as a pair. Concealed hinges are the second case. They solve appearance and snag risk but transfer tolerance demands onto the cutout. Confirm the machining accuracy before the hinge is chosen, not after it fails to close. Torque hinges that hold a lid at any angle, paired with a physical stop, cover the third: hatches that must stay open in a seaway without banging.
What goes on the drawing sheet
Gasket working range
about 1/8 in of squeeze
Over-travel
past first contact, every cycle
Deflection target
1/16 in at mid-span
Alloy per zone
316 on deck, 304 inside
Test evidence
salt-spray report, ASTM B117
None of these numbers is exotic. A spec that carries them can be sent to any competent hardware maker, which is the point: the buyer, not the catalog, defines the hatch.
Sourcing Closure Hardware as a Component Decision
Everything to this point sets up a purchasing decision that most boat projects never make consciously: whether the hatch is one part number or four. Treating it as four is how the leak diagnosis, the mechanism choice, and the numbers above turn into a BOM you control.
Split the BOM before you split the invoice
Splitting a hatch BOM into four decision layers
| Layer | What it covers | Failure frequency | Who should own the decision |
|---|---|---|---|
| Lid structure | Panel, frame, cutout | Low: fails from impact or rot, not age | Lid supplier or builder |
| Closure | Latch, strike, compression stroke | High: springs tire, cams wear, seals take a set | Purchasing with engineering sign-off |
| Hinging | Hinge type, pin, load path | Medium: wear shows up as sag and misalignment | Engineering |
| Sealing | Gasket profile and compression set | High: ages with UV and pressure | Purchasing plus maintenance plan |
The closure layer is where the money and the failures concentrate, so it is the layer worth sourcing directly. A quoted replacement lid bundles all four layers into one price and one supplier’s catalog. A component BOM works differently. The builder keeps a lid fabricator, buys latches and hinges from a hardware specialist, and stocks gaskets separately. That protects the one layer that actually wears out on a maintenance cycle.
Distributors read the same table from the other side. The replacement market buys the high-frequency layers: gaskets, cam and compression latches, hinge pins. New-build programs buy the full matrix by project. Stocking the wear layers and custom-ordering the rest mirrors how the failure data actually falls.
Five checks before you award the line
- Published parameter ranges: stroke, pull-up force, and material grades on the spec sheet, not only in catalog photos.
- Test evidence: a salt-spray report naming the standard and the hours, plus a finished-product test list covering salt spray, load, and lifespan cycling.
- Downloadable 3D models you can mate against your cutout drawing before ordering.
- A sampling and customization path with stated lead times for modified stroke, material, or finish.
- Stock depth and reorder terms: which SKUs ship from stock and what minimum order applies to the rest.
The full-replacement route still wins sometimes, and the check is a quick one. A lid maker quotes a complete assembly with its own warranty on a standard opening for a new build. There, the integration cost you avoid can beat the component price gap. Compare the assembly quote against the component BOM plus fitting labor, and let that number decide. Every aging boat, refit, and custom build with a non-standard opening is different. There the four-layer BOM keeps the specification, and the spares shelf, in your own hands.
If you want to spec closure hardware the same way, KUNLONG publishes its latch and hinge lines with free 3D models you can drop straight into your cutout drawings.
Send Us Your Cutout Drawings
Latch and hinge lines with published parameters, free 3D models and factory-direct sampling, backed by salt-spray and lifecycle test reports.
Request a Component QuoteReferences
- ASTM International. “Standard Practice for Operating Salt Spray (Fog) Apparatus” (ASTM B117). n.d. https://www.astm.org/Standards/B117.htm
- Boat Design Net. “Hatch Deflection.” 2020. https://www.boatdesign.net/threads/hatch-deflection.64336/
- Boat Design Net. “Boat hatch latch that operates from both sides?” 2021. https://www.boatdesign.net/threads/boat-hatch-latch-that-operates-from-both-sides.65343/
- Reddit r/boating. “Can we talk about the ridiculous price of hatches?” 2026. https://www.reddit.com/r/boating/comments/1rpwr9h/can_we_talk_about_the_ridiculous_price_of_hatches/